What is hazardous about plasterboard?


Understanding Plasterboard Hazards

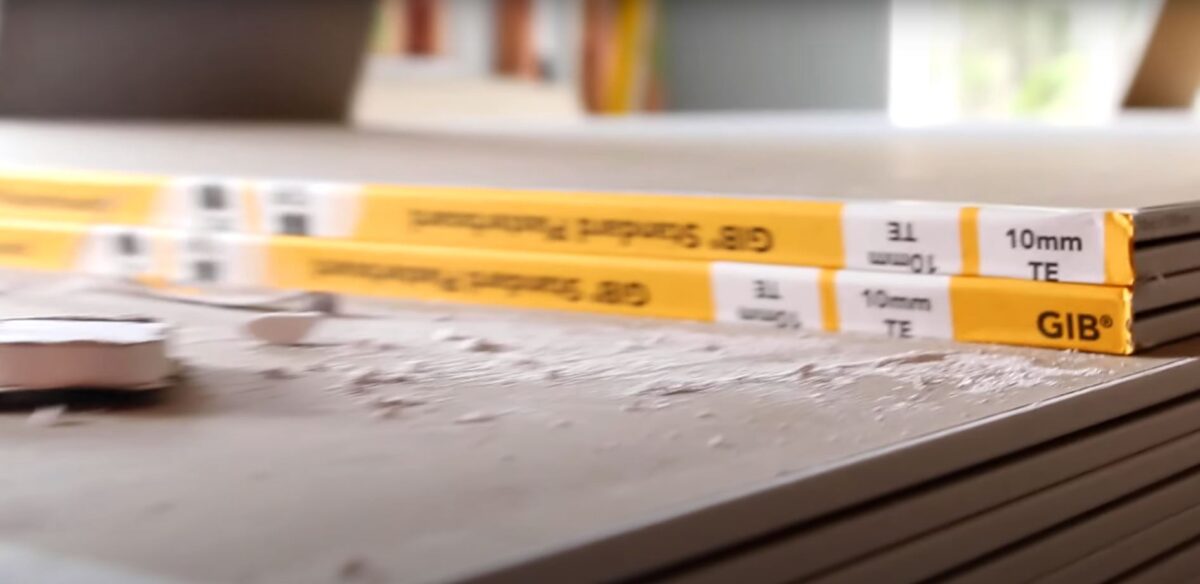
Plasterboard, commonly referred to as GIB Plasterboard in New Zealand, is a prevalent choice in home renovations across Auckland. Its versatility and adaptability are commendable. However, like many construction materials, there are associated hazards that homeowners should be aware of.

Dust and Respiratory Concerns

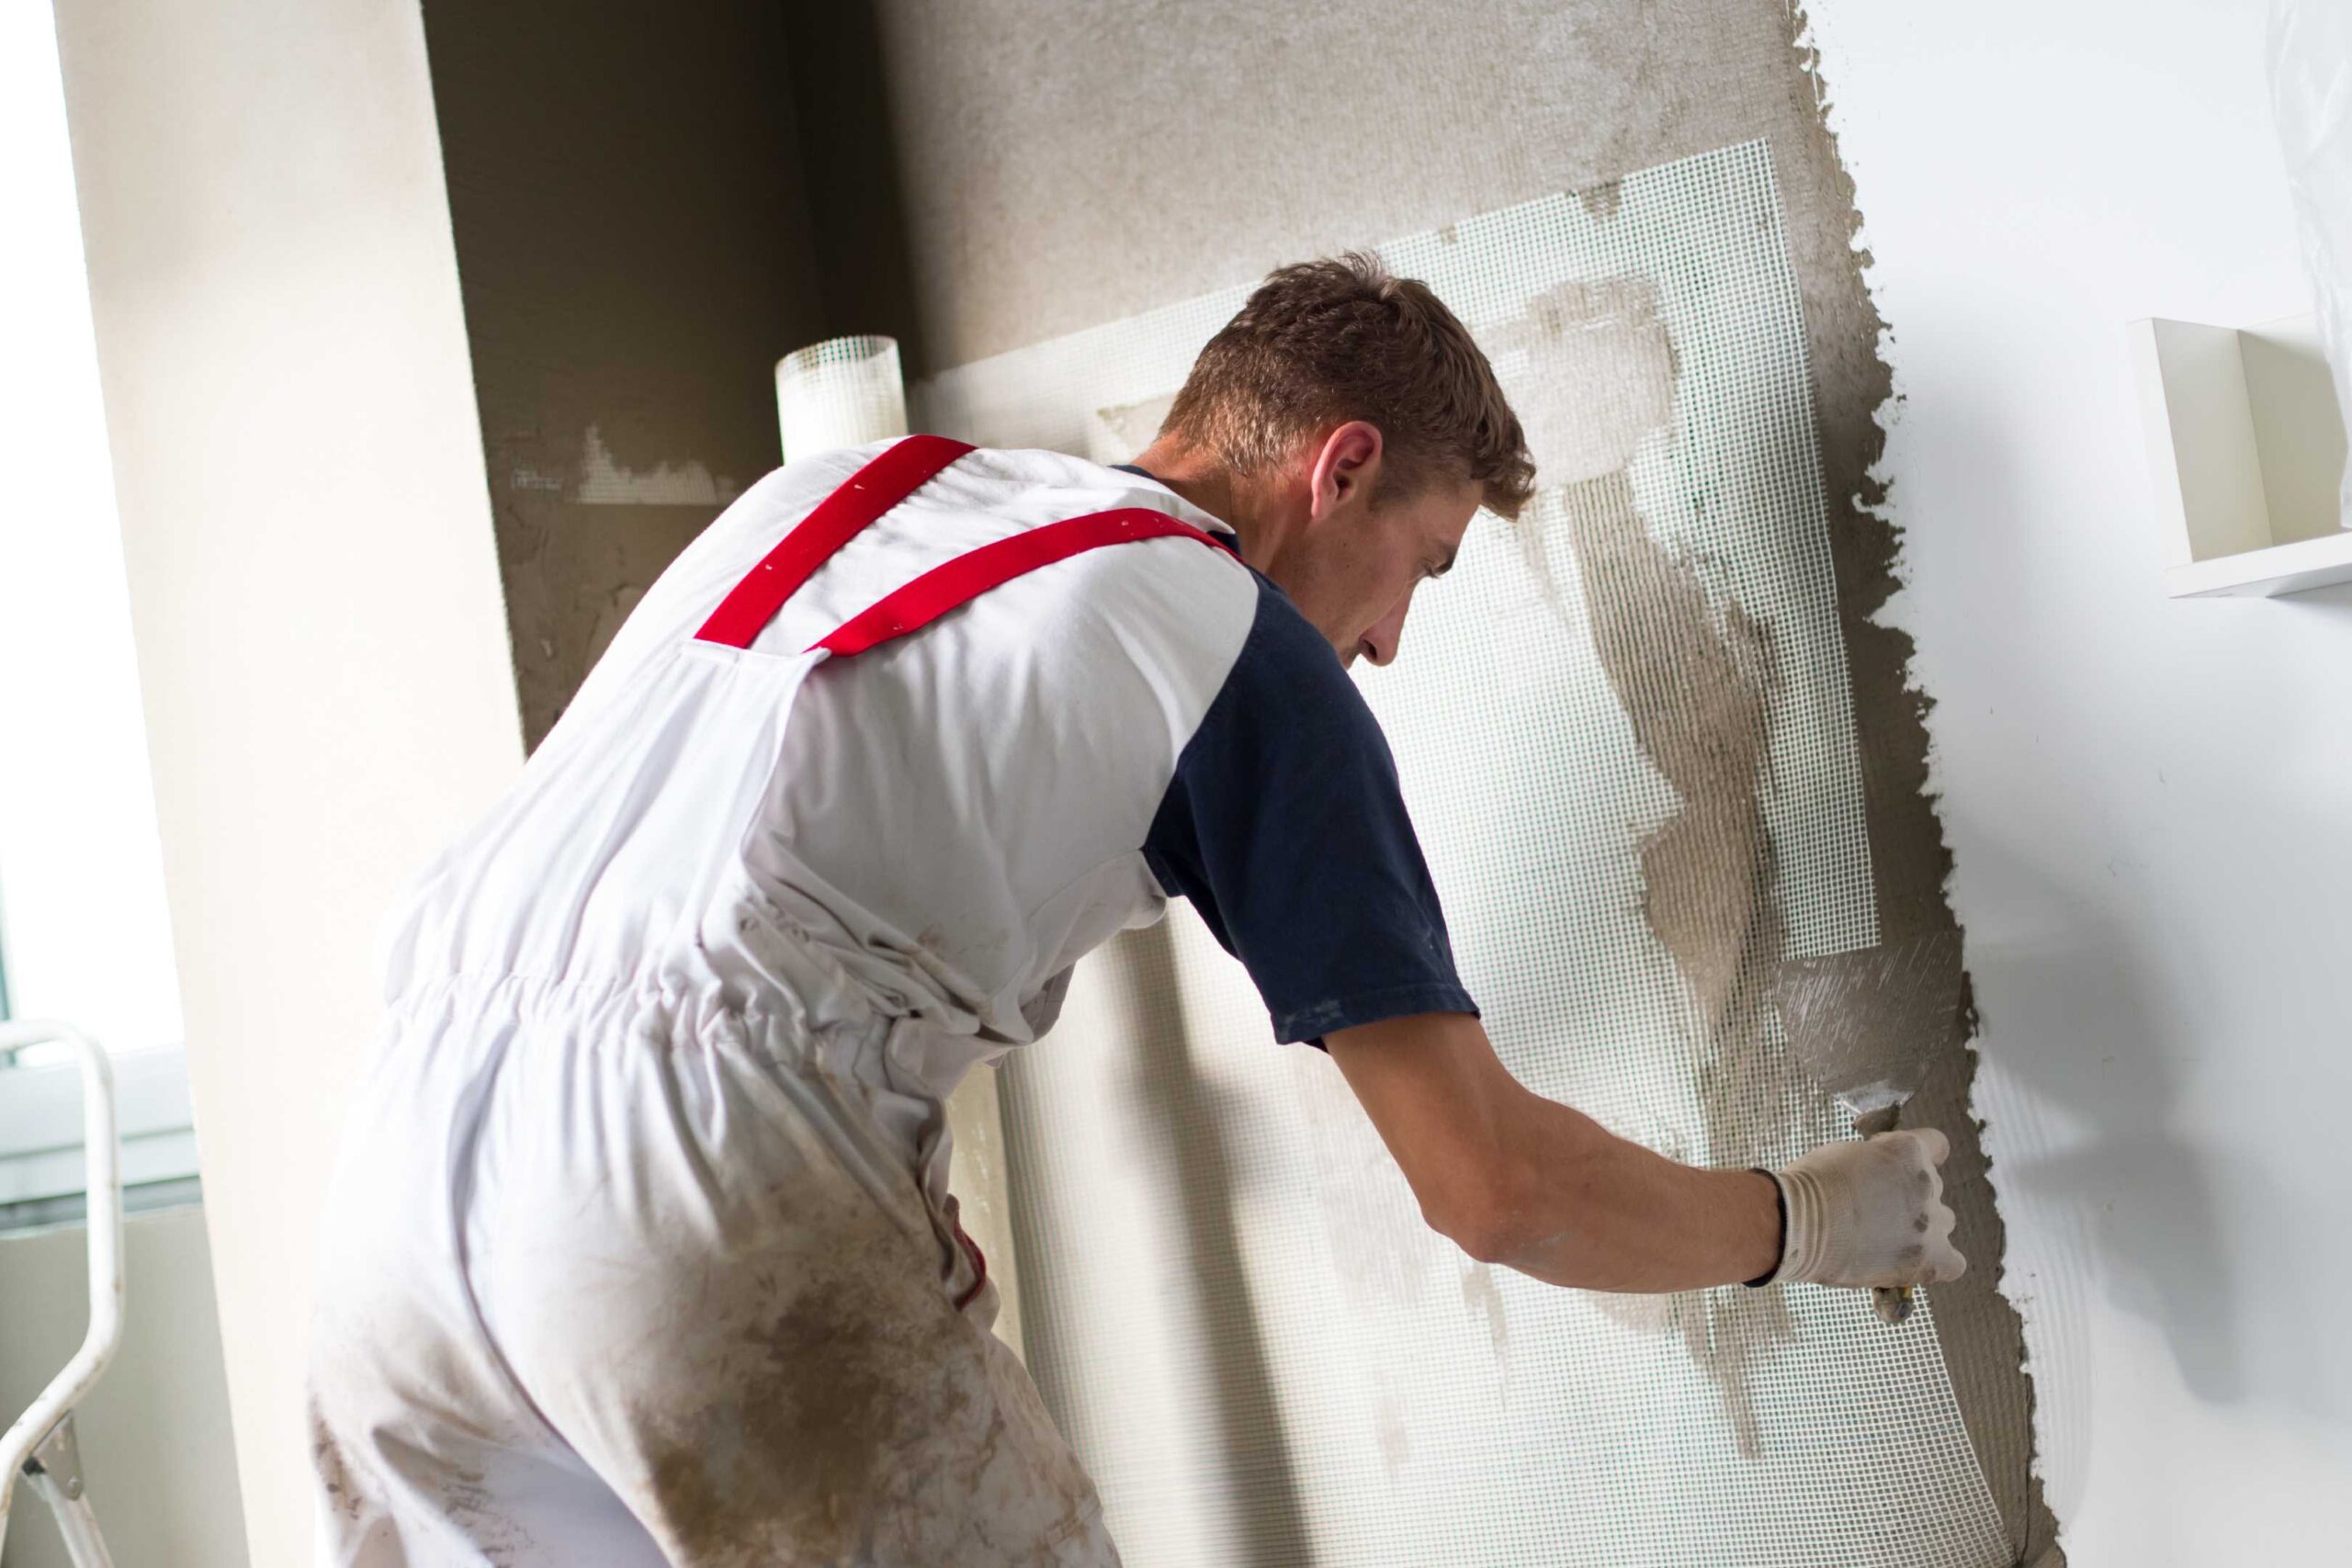
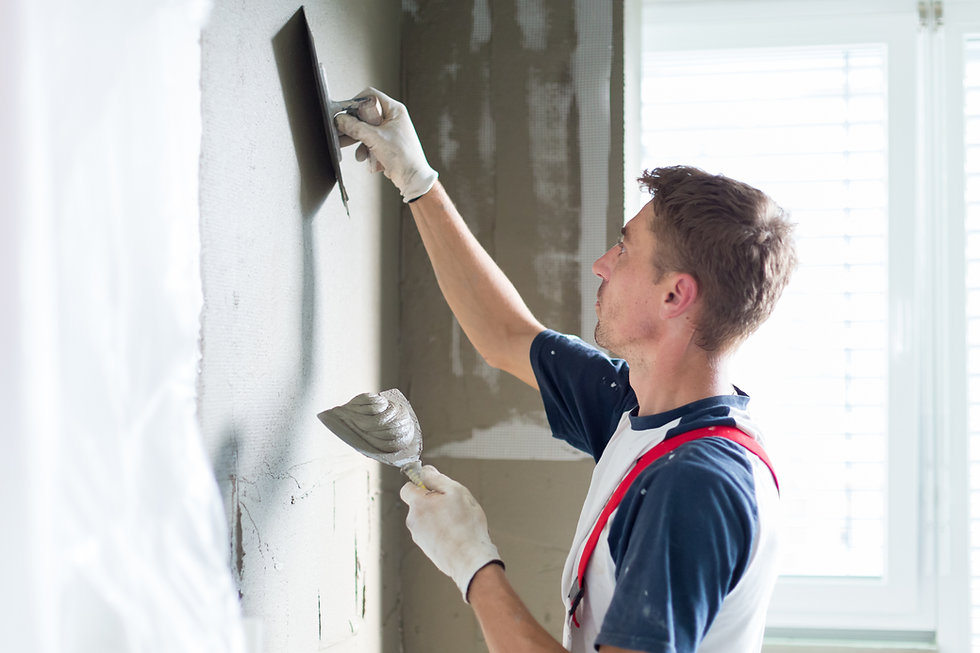
During the gib stopping and gib fixing processes, dust is a primary concern. The fine dust particles from plasterboard can easily become airborne and pose a threat when inhaled. Chronic exposure can lead to respiratory issues:

  • Irritation in the nose, throat, and lungs.
  • Possible development of asthma or worsening of existing asthma.
  • Long-term exposure can lead to silicosis, a severe lung disease.

In areas like Torbay, where the atmosphere may already be laden with sea salt, adding plasterboard dust might exacerbate respiratory concerns.

Chemical Exposure

Modern plasterboards are treated with various chemicals to enhance their properties:

  • Flame retardants to reduce flammability.
  • Fungicides to prevent mould growth.
  • Some of these chemicals, when interacting with other elements, can produce harmful gases.

In poorly ventilated spaces, these gases may pose health risks, especially during the fixing and stopping process.

Physical Injury Risks

Handling plasterboard poses potential physical risks:

  • Cuts or abrasions from sharp edges.
  • Muscular strains from lifting or moving heavy sheets.
  • Falling sheets can cause injuries if not secured properly.

Environmental Concerns

Waste management is a concern, particularly in environmentally conscious suburbs like Henderson. Discarded plasterboard in landfills can lead to:

  • Leaching of gypsum, impacting water quality.
  • Methane production as the plasterboard decomposes.

Auckland Council Bylaw Considerations

The Auckland Council has specific bylaws concerning construction waste disposal. Improper disposal of plasterboard might attract penalties. In suburbs such as Epsom, the council has stringent guidelines on waste disposal to maintain the area’s pristine environment.

Additionally, regional councils have varying codes concerning construction and renovation. It’s vital to check with your local council before commencing any renovation work.

Hiring Professionals: The Safer Choice

Given the complexities and potential hazards associated with plasterboard:

  • Professionals have the proper equipment to mitigate dust.
  • They understand how to handle and dispose of plasterboard responsibly, adhering to local bylaws.
  • Experienced teams can efficiently navigate the challenges posed by the unique characteristics of Auckland’s varied suburbs.

Types of Plasterboard and Their Considerations

TypeUse CaseProsConsHazards
StandardGeneral walls & ceilingsVersatile, cost-effectiveNot suitable for wet areasDust during installation
Moisture ResistantWet areas like bathroomsResists moisture and mouldSlightly more expensiveChemical treatments
Fire ResistantWalls requiring fire ratingIncreased safetyHeavier and more costlyAdditional chemicals
Sound ResistantSoundproofing roomsNoise reductionThicker and might need structural adjustmentsWeight and handling

To ensure safety and adherence to Auckland’s construction standards, hiring a professional gib stopping and gib fixing contractor is recommended. Not only will this guarantee a quality finish, but it will also safeguard the health and wellbeing of Auckland’s residents and their cherished communities.


FAQs about Plasterboard Hazards

Is plasterboard dust harmful to inhale?

Yes, inhaling plasterboard dust can irritate the nose, throat, and lungs. Prolonged exposure can lead to more severe respiratory conditions such as asthma or even silicosis.

Do plasterboards emit harmful chemicals?

Modern plasterboards are treated with various chemicals like flame retardants and fungicides. In poorly ventilated areas, these chemicals can release gases that might pose health risks.

Can plasterboard be disposed of in regular landfills?

While it is possible, it’s not recommended. When plasterboard decomposes in landfills, it can leach gypsum, impacting water quality and producing methane. Always check local disposal guidelines.

Are there any specific bylaws in Auckland regarding plasterboard disposal?

Yes, the Auckland Council has bylaws concerning construction waste disposal, including plasterboard. It’s essential to ensure responsible disposal according to your suburb’s guidelines.

How can I reduce plasterboard dust during renovations?

The best approach is to engage a professional gib stopping and gib fixing contractor. They have specialized equipment and techniques to minimize dust and ensure a safer environment during renovations.


Key Takeaways about Plasterboard Hazards

Dust Inhalation Risks Inhaling plasterboard dust can lead to respiratory problems, underscoring the importance of proper safety precautions during installation or renovation.

Chemical Emissions Some plasterboards can emit chemicals, especially in poorly ventilated areas, potentially posing health concerns for inhabitants.

Auckland Bylaw Considerations Specific bylaws in Auckland guide the proper disposal of plasterboard, ensuring environmental safety.

Professional Assistance For those in suburbs like Onehunga or Papatoetoe, it’s essential to hire skilled gib stopping and gib fixing contractors to ensure compliance with local regulations and optimal safety measures.

Plasterboard in Landfills Decomposing plasterboard in landfills might contribute to water pollution and methane production.

Safe Disposal is a Must Always be aware of and adhere to local guidelines for disposing of plasterboard responsibly.

Minimizing Exposure To maintain a healthy living or working environment, it’s vital to minimize exposure to plasterboard dust and chemicals, particularly during renovations.

What is the Difference Between Drywall and Solid Wall Plastering?

When diving into the world of home renovations, especially in Auckland, understanding your options for wall finishes is crucial. The terms “drywall” and “solid wall plastering” often come up, and discerning their difference is essential for making informed decisions for your project.

Drywall: A Quick Overview

Drywall, commonly known as gib board or plasterboard in New Zealand, is a panel made of gypsum plaster pressed between two thick sheets of paper. Here’s a bit more about it:

  • Speed of Installation: One of the main advantages of drywall is its quick installation time.
  • Cost-effective: In general terms, drywall is more budget-friendly than solid plastering.
  • Insulation: Drywall boasts decent insulating properties, ensuring interiors remain warm in the winter and cool during summer.
  • Flexibility: Drywall gives a smooth finish, primed for either painting or wallpapering.

Solid Wall Plastering: Digging Deeper

Solid plastering involves the application of plaster finishes to exterior and, at times, interior surfaces. This method is lauded for its durability and aesthetic finish:

  • Durability: Solid wall plastering is renowned for its wear and tear resistance. In Auckland homes, it’s commonplace for these walls to last for decades without any significant signs of wear.
  • Finish: This method offers a seamless, smooth finish, adjustable to various textures and appearances.
  • Weather Resistance: Given the unpredictable Auckland weather, solid plastering’s resistance to moisture — and its ability to let moisture evaporate — is a distinct advantage.
  • Versatility: Beyond walls, it’s often employed for decorative mouldings and features.

Council Bylaw Requirements: Navigating Auckland’s Rules

The Auckland Council has set stringent standards for plastering quality, especially in suburbs like Ponsonby and Mt Eden. Following particular building codes is vital, especially when dealing with exterior tasks or heritage structures. Exterior plasterers in Auckland are well-versed with these regulations, ensuring your project’s compliance.

Tools and Materials: A Deep Dive

For those keen on the intricacies of the process, here’s a look at the common tools and materials associated with plastering:

For Drywall:

  • Tape: Essential for covering the joints between sheets.
  • Joint Compound: Primarily used for embedding the tape and providing finishing touches.
  • Drywall Saw & Utility Knife: Perfect tools for shaping and cutting drywall.

For Solid Wall Plastering:

  • Plastering Trowel: Crucial for plaster application.
  • Hawk: A handheld board to hold your plaster.
  • Straight Edge & Screed: These tools ensure your plastered surface remains flat.
  • Float: Employed to smoothen the plaster post-application.

Why Professionals Are The Way To Go

Given plastering’s technical nature and Auckland’s specific standards, it’s often wise to seek professional plasterers in Auckland for the job. Solid plastering requires precision, expertise, and in-depth knowledge of Auckland’s specific requirements. With the variety of options available, why take the risk? Enlist a professional to guarantee that your home not only looks stunning but also meets all the regulatory requirements.

Cost Breakdown (NZD)

ServiceAverage Cost
Drywall Installation $58.50 – $71.50 per square metre
Solid Wall Plastering$78 – $104 per square metre

In Summary

Whether you’re contemplating drywall or venturing into solid plastering, knowing each option’s ins and outs is pivotal for your project’s success. Auckland’s unique requirements and particularities require attention to detail and an adherence to standards. The intricacies of plastering, more so with exterior plastering, highlight the importance of trusting professionals for the task. Proper plastering in Auckland homes demands expertise, precision, and a keen eye. If you’re planning such a venture, trusting professionals is the ideal approach.

Frequently Asked Questions on the Cost Differences between Drywall and Solid Wall Plastering

1. Why is solid wall plastering more expensive than drywall? Solid wall plastering involves a more intricate process than drywall installation, requiring skilled craftsmanship and more materials. Additionally, the drying time and multiple layers involved contribute to its higher costs.

2. Is the price difference worth it when considering durability? Yes, for many homeowners. Solid wall plastering is renowned for its durability and resistance to wear and tear. It can last for decades without showing significant signs of wear, especially when maintained properly.

3. Are there any hidden costs involved in both methods? Like any construction or renovation project, unforeseen challenges can arise. For drywall, you might incur additional costs for painting or finishing. For solid wall plastering, potential repairs to the underlying structure or prepping the surface might add to the costs.

4. How do Auckland’s council bylaws impact the cost? In certain Auckland suburbs like Ponsonby and Mt Eden, there are specific building standards and codes to adhere to, especially for exterior work or heritage structures. Meeting these requirements might involve additional processes or materials, potentially influencing the overall cost.

Key Takeaways


  • Solid wall plastering involves a more intricate process than drywall, which often results in higher costs due to the skilled craftsmanship and materials required.
  • Despite the higher initial expense, solid wall plastering offers superior durability and can remain in excellent condition for decades with proper care.
  • Auckland suburbs like Ponsonby and Mt Eden have specific building codes that might influence the overall plastering costs, especially for heritage structures or exterior work.
  • While DIY might appear cost-effective initially, plastering requires expertise. Errors can lead to more extensive future expenses, making it advisable to hire professional Auckland plasterers.
  • Both solid wall plastering and drywall come with maintenance considerations, but solid wall plastering might require periodic checks due to exposure to external elements, affecting long-term costs.

The Urgent Need to Repair Damaged Plaster: A Thorough Analysis

The often-understated significance of addressing plaster damage in your house promptly cannot be overstated. Cracks, breakage, or sagging plaster might initially seem trivial, an issue you could defer to next month or even next year. But as specialists in plaster repairs in Auckland, we underscore the urgency of tending to these issues immediately. Below, we outline why:

Aesthetic/Visual Impact:

While it’s true that beauty isn’t everything, damaged plaster – with its unsightly cracks and sagging – can dramatically alter your home’s appearance and atmosphere. This visual degradation can affect your comfort in your own home and might even cause embarrassment when welcoming guests. Cherishing your dwelling entails promptly addressing damages, including repairing cracked and sagging plaster.

Progressive Deterioration:

Much like other home repair scenarios, ignoring plaster damage only gives room for further deterioration. When you finally decide to rectify the situation, you might find the cost significantly higher than it would have been if addressed early.

Protection Compromise:

Plaster serves as a crucial protective layer in your home. Neglected plaster repairs deprive your home of this defensive shield, potentially leading to further damage to integral systems such as electrical, plumbing, and even the structural framework.

Preservation of Property Value:

By addressing plaster repairs as and when they emerge, you help maintain the value and structural integrity of your home, thereby safeguarding your resale value. Your home represents a substantial investment, warranting commensurate maintenance efforts.

Factors Contributing to Plaster Damage:

Plaster, like any other material, isn’t immune to wear and tear, especially as your house ages. Several reasons contribute to plaster damage:

  • Structural settling and movement over time can fracture and crack the plaster.
  • Dampness due to water leaks and high humidity levels.
  • Fluctuating temperature conditions can cause plaster to expand and contract, leading to cracking.
  • Renovations and new installations might exert pressure on the existing plaster, causing damage.
  • Poorly executed plaster installation might escalate the likelihood of damage.

Local Microclimatic Variations in Auckland:

Auckland’s diverse microclimate by suburb can also affect the durability of your plaster. Coastal suburbs like Devonport might experience more dampness due to proximity to the sea, increasing the risk of plaster damage. In contrast, suburbs like Parnell, being more inland, might have lesser humidity but greater temperature fluctuations, causing plaster expansion and contraction.

Cost Estimation – Plaster Repairs vs Replacement:

The cost of plaster repair versus replacement heavily depends on the extent and nature of the damage. Minor repairs could range from NZD 200-400, whereas more significant damage could lead to costs upwards of NZD 1500. A complete replacement can escalate the cost further. Undoubtedly, the financial implications of not addressing plaster damage promptly can be substantial.

Do Plasterers Work Outside? Digging Deep into the Trade in Auckland

With keen eyes observing the bustle of Auckland’s vibrant construction scene, I’ve gathered plenty of insights about different trades. A query that pops up now and then is, “Do plasterers work outside?” So, let’s roll up our sleeves and delve into this.

Plasterers and the Auckland Outdoors: An Unmistakable Duo

Absolutely, plasterers certainly do work outside. In fact, a large chunk of their craft involves exterior plastering. These skilled professional plasterers are the masters behind the appealing finishes gracing the external walls of residential properties, commercial structures, and boundary fences all over Auckland, from the charming villas of Ponsonby to the sprawling farms of Pukekohe.

Solid Plastering, Stucco, and More

Plasterers in Auckland are well-versed in an array of exterior plastering techniques. Solid plastering is one such technique, offering a seamless, durable finish. Stucco, another popular choice, gives buildings a classic, textured look that’s both timeless and robust. Regardless of the technique, the primary objective is the same: to create a lasting, aesthetically pleasing finish that stands up to Auckland’s dynamic weather conditions.

Eco-Friendly Plastering: A Silent Contributor

Exterior plastering does more than enhance our city’s buildings; it also plays a crucial role in environmental sustainability. By effectively sealing a building’s outer envelope, plastering contributes to better insulation, reducing reliance on heating and cooling systems. In essence, every plastered wall is a step towards reducing energy consumption and forging a greener Auckland.

Weathering Auckland’s Weather

Plastering outdoors in Auckland’s variable weather demands adaptability. High humidity or direct sunlight can lead to premature drying, resulting in cracks. Hence, our skilled plasterers often prefer working early in the day or on overcast days, ensuring an optimal finish without weather-induced flaws.

Health and Safety on Site

Government health and safety regulations dictate strict guidelines for working outdoors, especially when working at heights. Plasterers are required to use protective measures such as scaffolding, guardrails, and safety harnesses to prevent accidents. This ensures the safety of plasterers whether they’re adding a stucco finish to a villa in Mt Eden or working on a towering commercial building in the CBD.

Wrapping It Up

So, to circle back to our question, “Do plasterers work outside?” – the answer is a resounding yes! Whether it’s solid plastering or stucco work, plasterers are vital to shaping Auckland’s exterior aesthetics and promoting sustainability. Despite the challenges of weather and safety regulations, they consistently deliver their best work, enriching our urban landscape with their craft. The next time you admire a beautifully plastered building, spare a thought for the skill and artistry of the plasterer!

What do you put on walls before plastering?

There are several methods of plastering. One of the most common is to use multi-finish plaster. This step aims to create a good base for the next coat of plaster. After you’ve done this, you can use another method to fill in the gaps.

First, you need to remove any loose materials from the walls. Plastering without a base coat can cause the wall to lose moisture, causing it to crack and flake. PVA emulsion is a good choice for a base coat. You can also mix a small amount of food coloring and plaster for a slightly tinted finish. This way, you can see which areas you’ve covered.

You can get at-home lead test kits to determine if your walls contain lead. If it doesn’t, it’s safe to scrape away the old paint. If you still have a layer of color, you can use a putty knife to smooth the edges and ensure a smooth surface.

Plastering is usually a job best left to a professional. It requires careful preparation and a practiced technique to achieve the best results. If you’re confident with plastering, the finished room will be smooth and ready to accept wallpaper or paint. Before starting the process, you’ll need plastering tools such as a plaster trowel. You will also need a plasterer’s hawk board to hold the plaster. A plastic hawk board is much lighter and easier to handle than a wooden one.

Once the walls have been adequately prepared, it’s time to apply a primer. This will prevent paint from clinging to the plastered surface. A good primer is water-based and will block stains. Once the primer has dried, you can apply the paint’s topcoat.

Plastering over wallpaper is also an option, but this is generally not recommended by professional decorators. As a rule, the previous layer should be slightly damp. Otherwise, the previous layer will disturb the new layer and cause flaking and cracking. The last layer of plaster will pull moisture out of the new layer.

Check this out: https://yourplasterersauckland.co.nz/

Before plastering, you can prepare the walls by painting them with PVA. You’ll need to mix 10% of PVA with water. Then, you’ll need to apply a second coat to smooth out the trowel marks. After this, you can use a tapering knife to smooth the edges.

Plaster walls can be painted with the same methods as those for drywall, but you will need to be extra careful when applying the paint. Plaster walls are notoriously thirsty for paint, so you should use rollers for open areas and brushes for trim. It’s best to apply two or three thin coats of paint rather than a thick one. Sponged paint can be a good choice if you’re looking for a rustic, antique finish.

Small holes or cracks in the plaster are not a severe problem, but you should consider patching the wall with a patching material. If the old lath is loose, you can use a water mist to prevent it from twisting. You can also use a bonding agent to reinforce the patch. If the cracks are large, you may need to apply fiberglass mesh tape to bridge the crack.

How to Tell If a Wall Needs Plastering in Auckland

There are a few ways to tell if a wall needs plastering. One way is to look for flaking paint or cracks. If a wall has flaking color, it is likely made of plaster. If it doesn’t, it is probably drywall.

The plaster will decompose if it is exposed to water. White cement, on the other hand, won’t deteriorate with water. The downside to white glue is that you can’t sand it after it sets. However, if the room is prone to moisture, it’s probably best to go with stucco.

To start plastering, you’ll need to mix it well. This is a complicated process that’s usually best left to professionals. However, with a bit of guidance and time, homeowners can perform it themselves. Make sure to start with a fresh batch of plaster. Then, use a trowel to spread it out evenly. Once the application is even, you’ll be ready to apply wallpaper or paint.

Before applying the plaster, ensure the surface is dry and clean. Make sure you clean the wall thoroughly so the plaster can adhere to it. It would help if you also cleaned the work area. Any tarnish, oil, or soap will prevent the plaster from adhering correctly. In addition, a wall that’s too dry will cause the plaster to set prematurely.

If a hole is large enough to warrant patching, you may need to remove all three layers of plaster and replace the lath. This requires removing the old plaster and removing the loose strip. It would help if you also used a bonding agent to strengthen the patch. Alternatively, you can install expanded metal lath and use lath nails. However, be sure to ask a structural engineer before doing this.

Pushpins are one way to tell if a wall needs plastering. A pushpin can penetrate drywall, while the plaster is much more complicated. You should use toggle bolts if you’re trying to put a heavy item into plaster. Remember that using nails will damage the plaster, so drill the holes carefully.

Read more: Plasterers Auckland

Plastering is a skillful trade that takes years to learn. It requires special tools and training. Although you can do minor repairs yourself, most plaster repairs will need the help of a plasterer. Plastering is a good idea if you’re planning to renovate your home.

Before you apply plaster, you should use a primer. It will prevent stains. After applying a primer, it’s essential to let it dry before applying a topcoat. A primer will also help protect your home from the fumes caused by a coat.

Plastering is the most labor-intensive of wall treatments. It involves nailing wood lath to studs and applying several coats of plaster. This method was used in most homes before World War II.

What’s the Difference Between Skimming and Plastering in Auckland?

Plastering and skimming are two different processes that require other techniques. The former requires you to clean the wall thoroughly, seal any cracks, and then apply a layer of joint compound. Once it is dry, you can move on to the project’s next step.

A plaster trowel should be plastered at a low angle to the surface. You can also apply water to the freshly plastered surface to help it smooth out. This is done to remove any unevenness in the plaster. It is also used to fill holes and scratches.

If you’re plastering over drywall, you can skip the skimming step and paint directly onto the board. But if you’re using plasterboard, you’ll want to skim the entire surface, as it will make the wall smoother and glossier. While touching your walls may look more attractive, it can be messy. Dust can splatter on light switches and furniture.

Traditional plastering involves three separate layers of plaster. The first layer is called a brown coat and is rough. It may contain sand, horsehair, or other binders. The finish coat’s second layer is a fine blend made of water and finely ground plaster or lime.

Plastering costs vary greatly. You will need to factor in several variables, such as the size of the room. You can estimate the cost of plastering, but it’s never a straightforward process. Skimming is usually a less expensive alternative than plastering.

Skimming your walls is another option if you want to restore the character of an old house. It will make your walls look more authentic and historical. It will also give your walls an imperfect look that shows the maker’s hand. Unlike plaster, no two divisions will be identical.

It requires removing old plaster, skimming, and finishing the surface. You can also hire a plasterer to skim a room for you. Plastering involves smoothing out the surface with a thin layer of plaster. It may be applied over an existing plaster layer or dry line plasterboard. Skimming requires skillful smoothing, so a novice DIYer shouldn’t attempt it.

Plastering requires three components: cement plaster, lime plaster, and sand. When applied to masonry, the cement plaster is usually placed on the surface. A professional plasterer should be experienced in interior plastering. A plasterer should also be knowledgeable in the different types of plastering. Some plastering jobs require multiple coats and some materials require other methods.
The method used varies according to the desired color. Some people use a paint roller to apply a light coat to the entire surface of the wall. They should then wait for it to dry.